The challenge
Normally on our rebuild projects we replace the old keytops (be these either plastic or ivory) for brand new high quality plastic keytops that turn out as a beautiful restoration on these antiques. For this specific project we got a very special request: replace the original plastic keytops with ivory. Our first thought was: “impossible”; our second thought “nothing’s impossible”. This had never been done before in the shop, the technique and gluing supplies for installing ivory exists, but mainly for small repairs, not for an entire set since we can’t actually acquire the ivory tops themselves. However, like any good piano shop technician we like collecting things (some might call it hoarding but tomato tomato), and so, through years of tearing down pianos for rebuild, removing old ivory keytops to replace with nice plastic, we’ve also been keeping these old keytops in a box… finally it was their time to shine. We accepted the challenge.
The Preparation
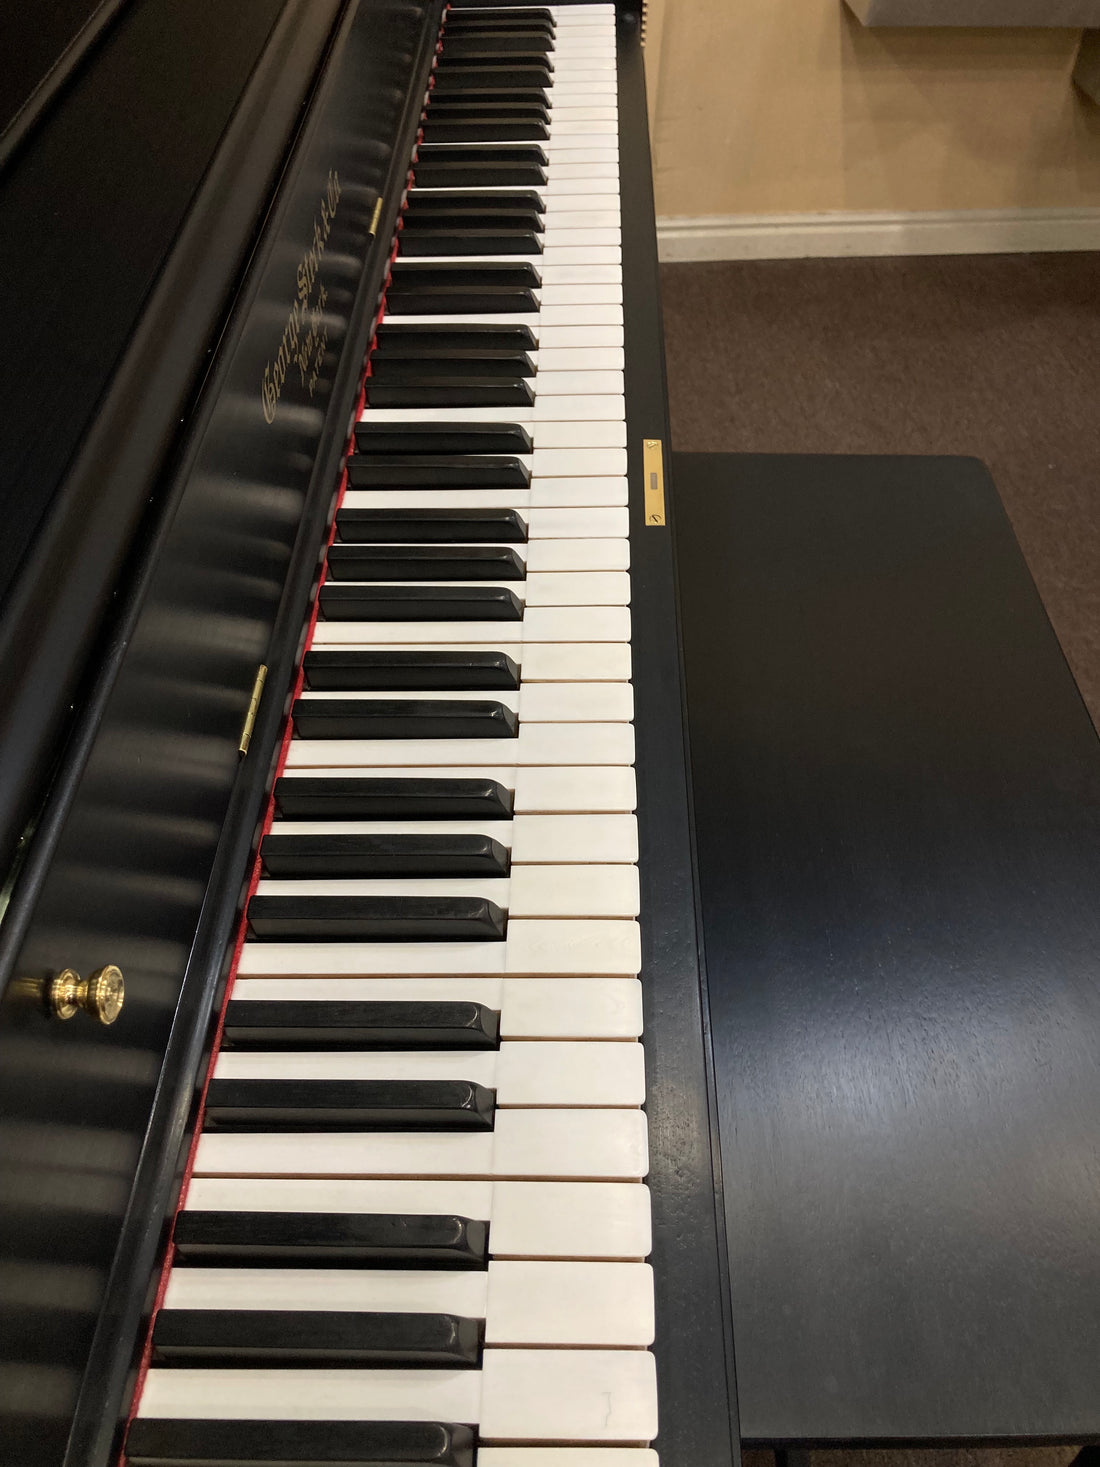
Do you know how to distinguish ivory keys from plastic? They feel differently but the main giveaway is that an ivory keytop is split in two pieces, the head and the tail, since you can only cut ivory in straight continuous lines.

We’ve been keeping our ivory heads and tails in separate boxes. The first step was to dive into those boxes in search of decent looking tails and decent looking heads with a similar hue.

After finding a bunch of heads and tails we cleaned them trying various methods: lemon juice and baking soda, hydrogen peroxide, TSP, lightly sanding with water, and all of them combined.
Next came the selection. One would think that all heads and tails are the same and only the placement changed per note. Wrong. Tails have different widths according to the note they belong to, same goes for heads. So we had to sort through our now clean and decent looking selection of ivory and separate them in groups according to the key note they matched with.
Ivory is bone, it can vary significantly in hue from one keytop to another (one could be more yellowish than another), and so we needed to make sure that that variation wasn’t significant once they were glued onto the keys and that they would look as uniform as possible. To ensure that we displayed the keys on a white surface (ivory is translucent) as they would be on a piano and distributed them by making the best matches between heads and tails and with their neighboring keys. We labeled each head and tail with the exact note they belonged to (A0, C4, D3, etc.).
Gluing Ivory
There’s a specific way to glue ivory on a key. We acquired special gluing strips for ivory that come in a dry format. We’re not sure about the specs but let’s just say they’re head and tail shaped linen strips dipped in magic white paste that when used correctly are as strong as cement. We also have to use special (very old technology) clamps to glue the tops on the wooden key structure.

Yes, there is a heat gun involved in the process.
In order for these special strips to work we need to soak them in water for about 60 seconds, place it on the key, position the ivory on top, place a heated (heated as much as your fingers can bear) special piece of brass that was only made for this purpose on top and close it all off by clamping it all tight together (tight enough for the strips to heat up, melt and bind it all together but not too tight as to break the ivory).

These strips become very slippery and they dry up quite fast once it gets cold so every step in this process must be done quickly, the entire process described above must be done in about 2 minutes total. So while you’re soaking the strip for 60 seconds (no more, no less) you’re heating up the brass for 40 seconds (that’s as much as this technician’s fingers can bear), then placing the strip on the key, ivory on the strip and brass on the ivory must be done in 60 seconds, or else it wont work. We should also point out that as soon as the brass is on the ivory the glue melts and gets very slippery so you have to make some quick adjustments to make sure the positioning isn’t ruined.

You repeat this process 53 times for the heads and another 53 times for the tails.

Final Touches
After gluing all the tops on we had to make sure everything looked right. This involved more cleaning, sanding the seams and filing the edges. Since the ivory tops were taken all from different sets originally, some were a bit longer than others. We filed all the fronts, corners, sides and notches to get them just perfect.

This was a very fun and extremely rare project that had an amazing outcome (let’s not forget it was our first time doing this). In the end, after a total of 144 hours approximately, the ivory keytops rebuild / installation was complete. Thank you for reading!


